Our Location
304 North Cardinal St.
Dorchester Center, MA 02124

New to oil burners and wax warmers? Learn how to use them safely, how much oil or wax to use, cleaning tips and how to pick the right burner for your home.
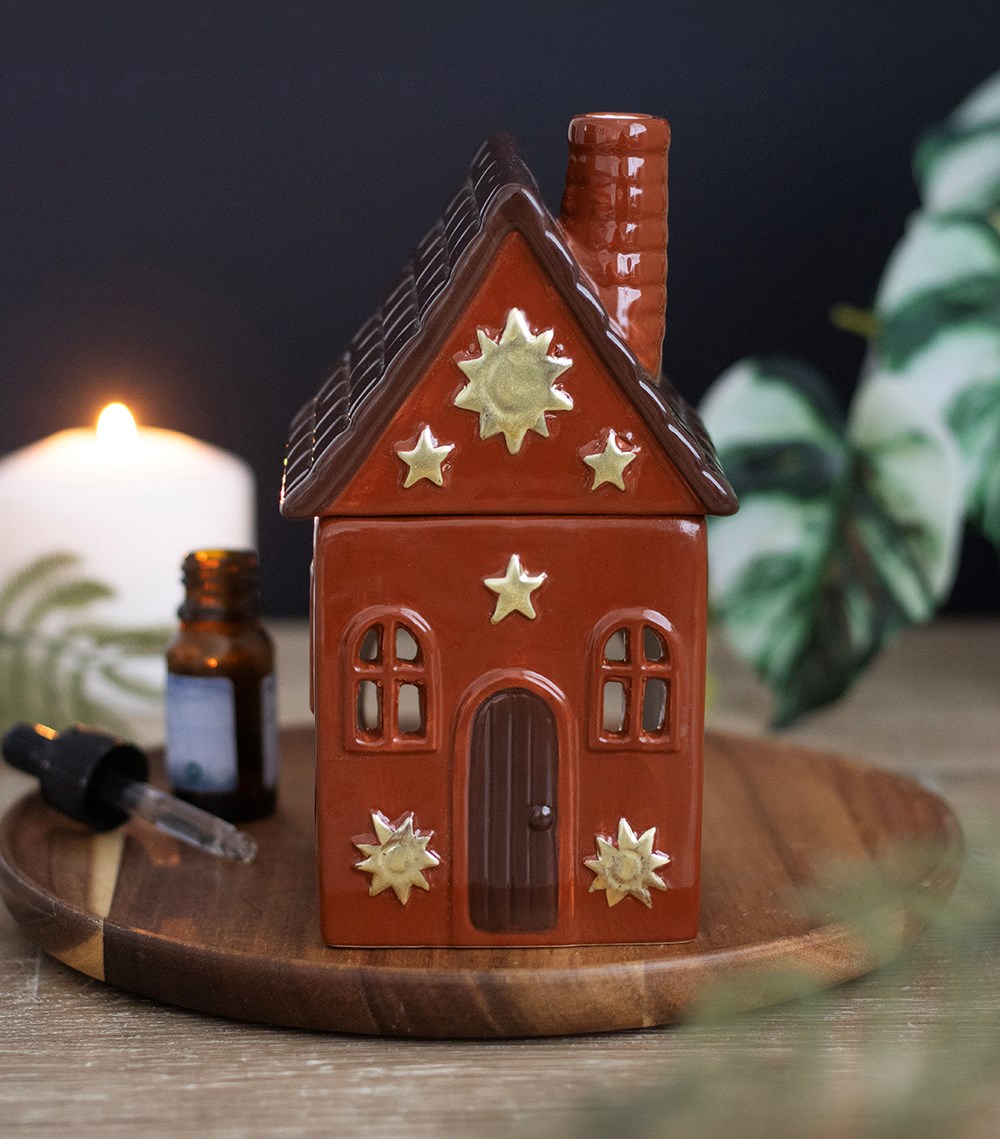
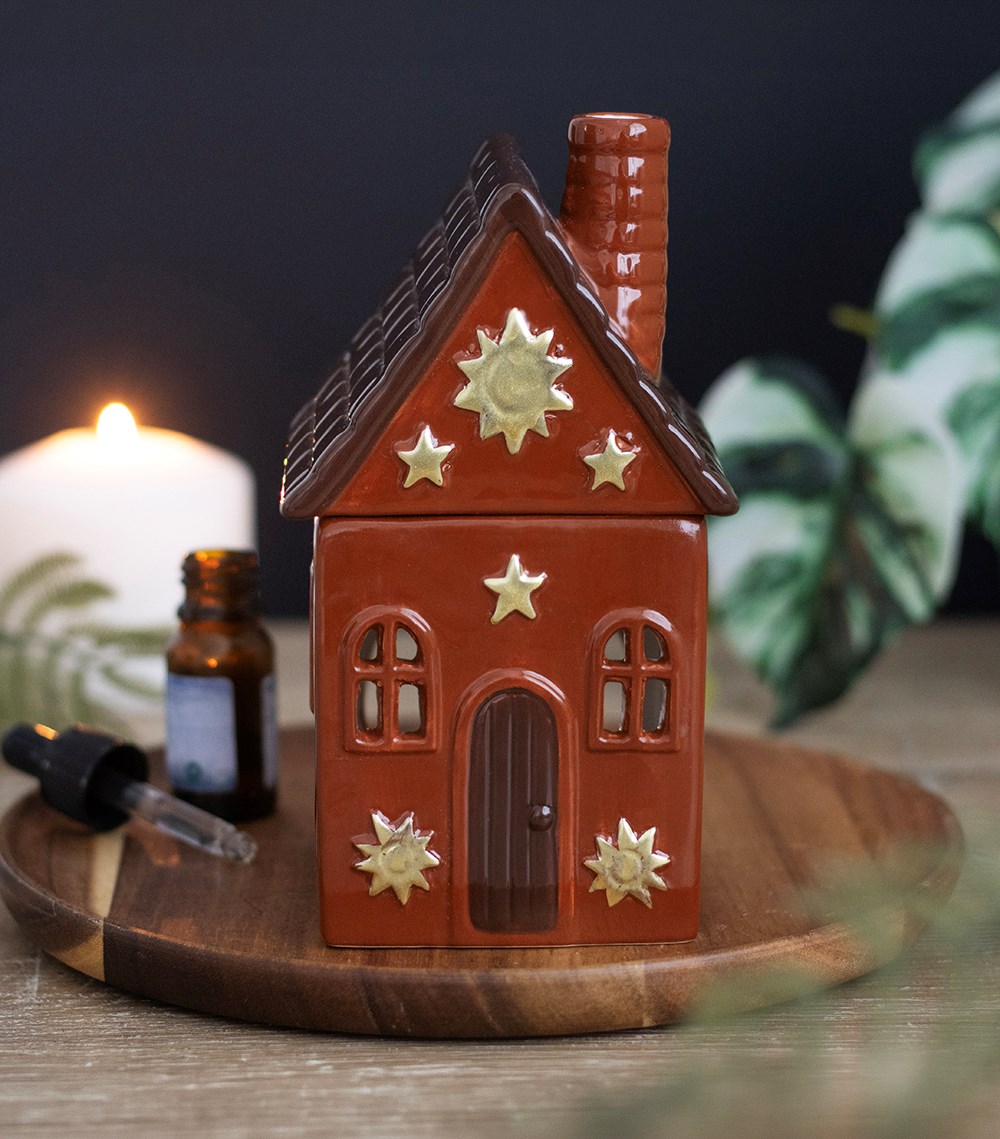
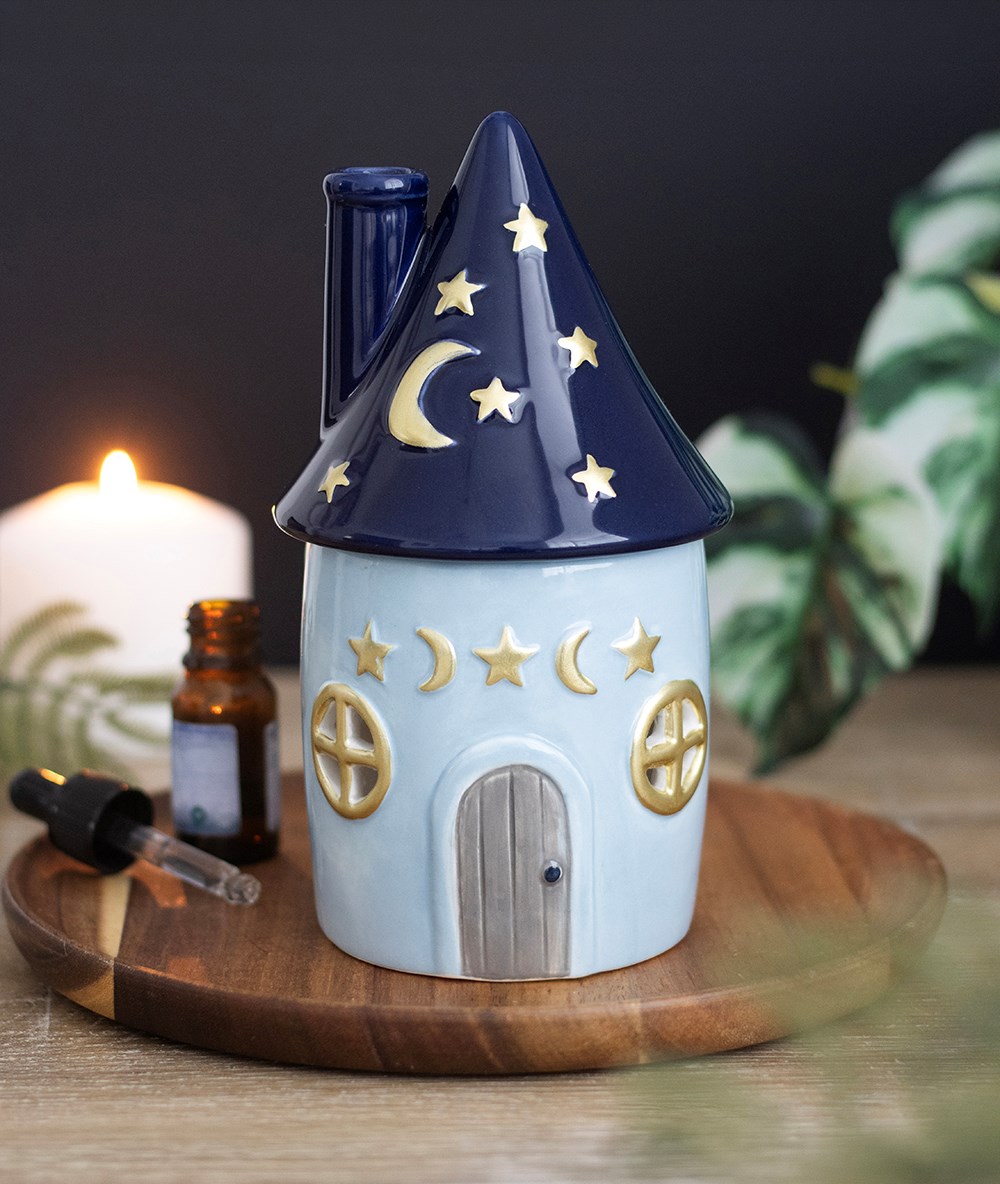
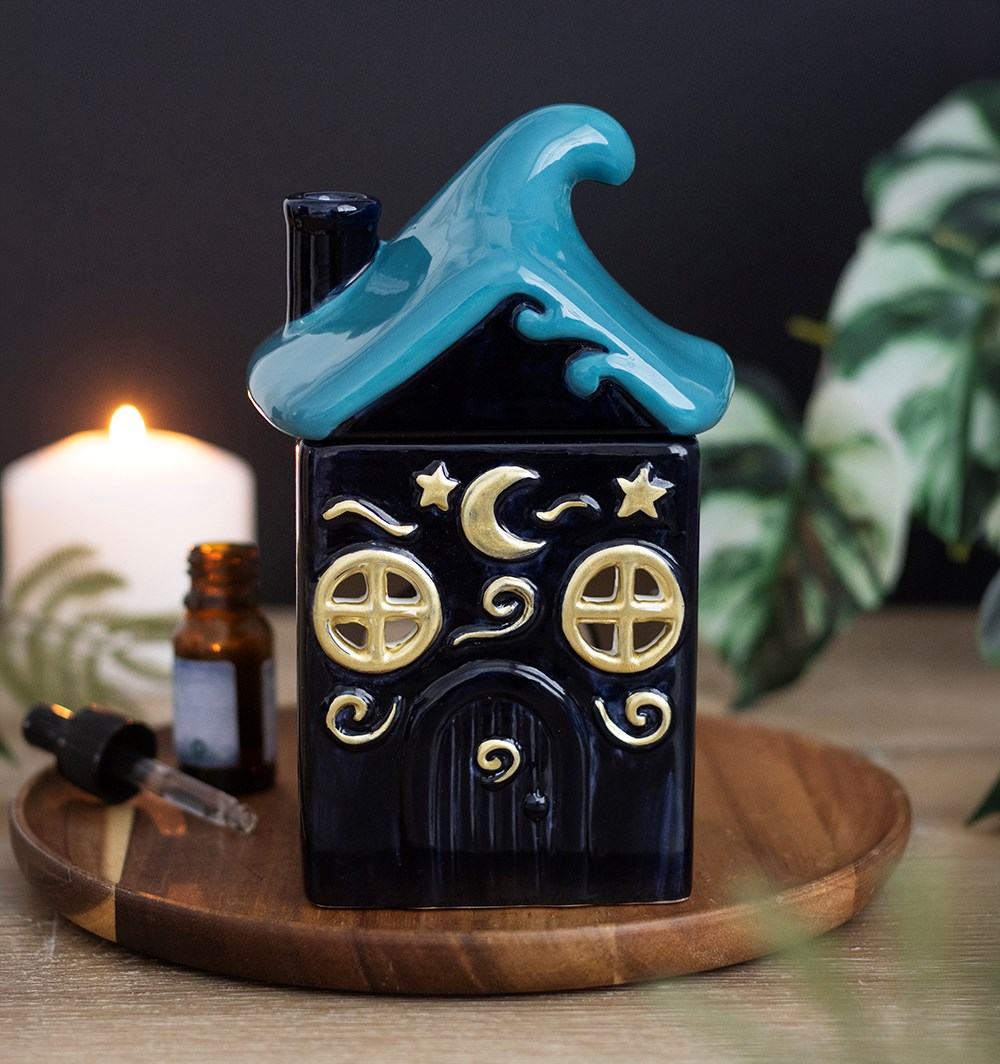
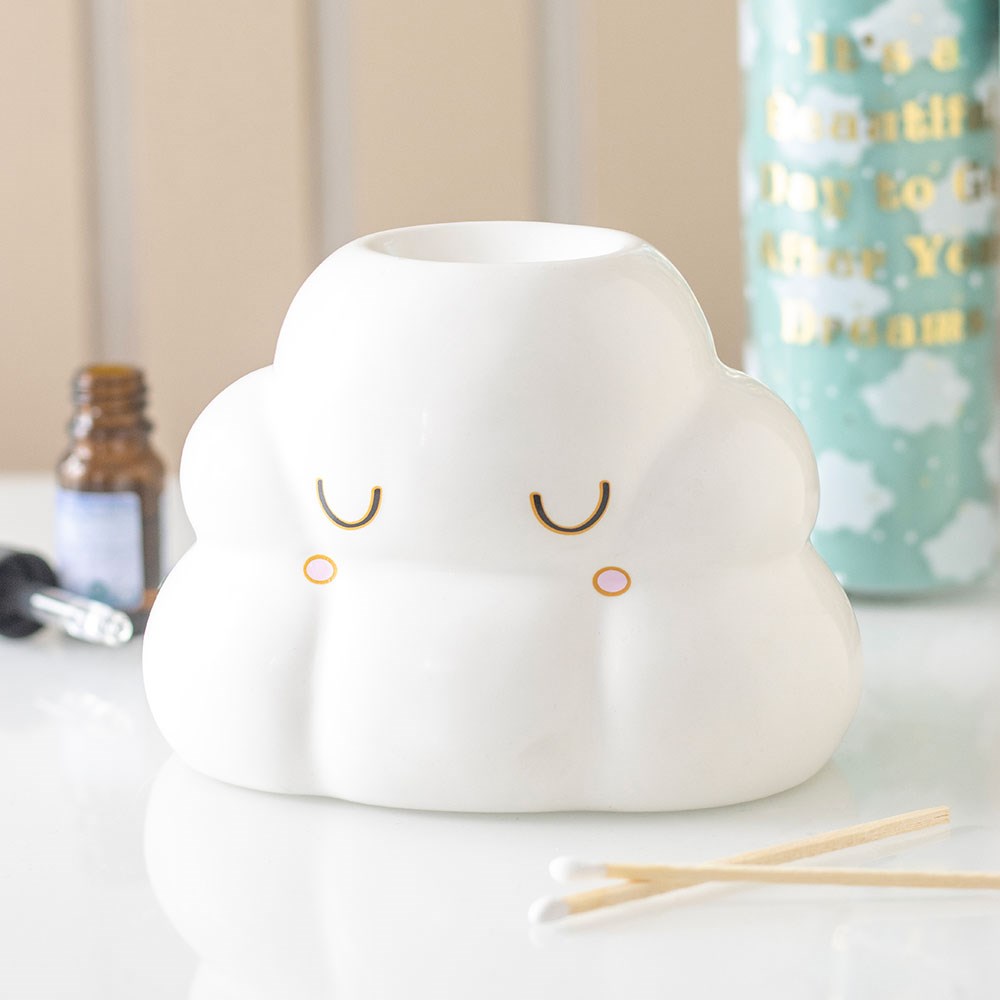
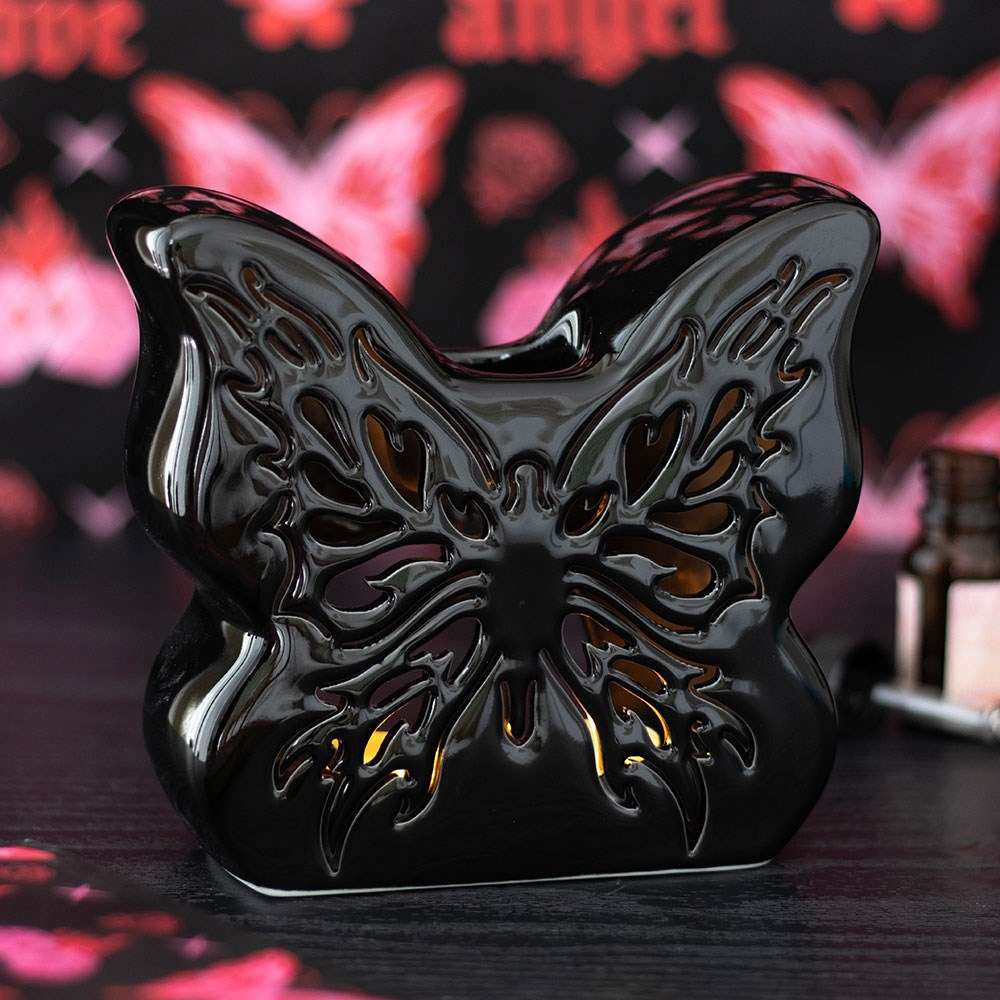
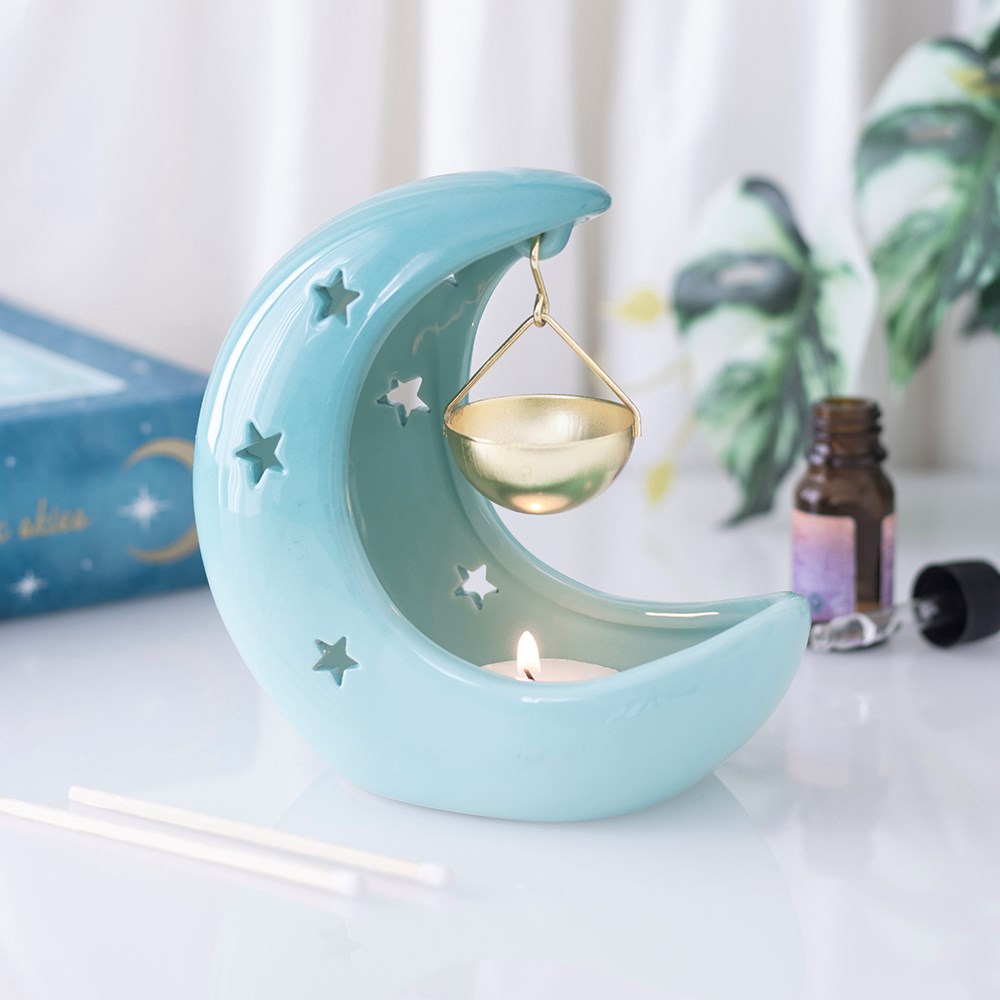
An oil burner is a small ceramic or stone dish held over a tealight candle. You fill the dish with water and a few drops of essential or fragrance oil, light the tealight, and the heat gently releases the scent into the room. A wax warmer works on the same principle but melts a scented wax melt instead of using water and oil.
Many modern burners — including most of ours — are designed to do both, which is why they’re often sold as “oil burner and wax warmer”. If yours has a deep, wide dish, it will happily take wax melts as well as water and oil.
Why the water matters: the water acts as a buffer so the oil warms gently rather than scorching. Burning oil without water gives a harsher scent and can crack the dish over time.
No water needed here. Simply break off one or two cubes of wax melt, drop them into the dish, and light the tealight underneath. The wax melts in a few minutes and fills the room with fragrance. When the scent fades, the wax is spent — let it cool, then pop it out (a few seconds in the freezer makes this effortless) and add a fresh melt.
Let everything cool completely. For oil burners, pour away the water and wipe the dish — a cotton bud shifts residue from the rim. For wax, warm the dish slightly so the leftover wax loosens, then wipe it out with kitchen roll before it sets again. Avoid harsh scourers on glazed finishes; warm soapy water is enough.
Think about three things: the size of the room, the look you want, and how much scent you like.
If you’re building a ritual or altar space, oil burners pair beautifully with smudging and cleansing rituals — burn, then cleanse, then set your intention. For more on working with scent in spells, see our guide to candle magic and colour meanings.
A single wax melt cube typically gives 8–12 hours of fragrance across two or three tealight sessions. Oil burners give a more immediate, adjustable scent — you control the intensity by the number of drops. If you want a room to smell welcoming all evening, a wax melt is the lower-effort choice; if you want to change scent to match your mood, oil wins.
Join our list for a first-order discount and early access to new pieces.